Saturday, June 30, 2012

Dye Job

Not too long ago, I came across a blog that explained how to dye buttons.
What a great idea! I had no inkling that could be done. 
 
Now that I know, of course, I have found other sites that show how to do it, including Rit Dye, who make the most widely available dyes. 
After pinning some related material onto one of my Pinterest boards, the thought stayed in my head that I could dye that huge bunch of white plastic buttons taking up space in my storage that no one seems to want because all button people have them. Of course, a fair amount of time passed before the word became the deed, so to speak.

Finally one lovely warm sunny day about two weeks ago, I decided to jump in and DYE!

 My generous hubby set up a "table" for me outside on the driveway, 
not far from the water tap, because of all the required rinsing.
 

Here is some of my equipment...
...rubber gloves (don't want rainbow hands), 
instructions (always a good idea for a novice),
plastic tablecloth (to avoid dyeing the work area),

and the old buckets and cans for the dye mixture.

Okay, psyched up to start, but a bit nervous, I couldn't decide whether to include the buttons that still had thread on them because someone cut them off the shirt.
In the end, I used them, because why waste them?

Now I apologize for not having photos of the process, but with gloved hands and staining dye, it was too tricky.
I used the three primary colors --- who remembers what they are?

Red, blue, and yellow because  they may be combined with each
other to form the secondary colors of purple, green, and orange.


So with three boxes of dye, I had access to six colors!
 
It took longer than I thought it would. I didn't leave the buttons in
the dye as long as the directions stated because they immediately
changed colors. I was aiming for translucent more than opaque.
A messy job to be sure, but it was interesting
to see the varying hues in the mixture, due to the different types of
plastic and their original shade.
Some were more absorbent then others.
One of the tricks is using very hot water, which aids in the absorption
 of color. Also they need to be rinsed thoroughly until the water is clear,
especially if they will be used on (washable) clothing.
Of course there were a few that did not absorb any color
and they went back into the 'reject' pile...

I had a blast doing this and I was originally thinking of packaging them in cute boxes or containers of some sort and trying to sell them, but I'm enjoying them too much to part with them yet. 

I used some of the orange ones in a bracelet I made and they added such a nice little light-catching touch!
 
Can you find them?

-*-*-*-*-*-*-*-*-
 Here are the instructions, courtesy of the RIT DYE website mentioned and linked above, should you decide to try this at home: 
  • Rit Liquid or Powder Dye: Any color or mix dye to create a custom color.
  • Measuring Cup
  • Measuring Spoons
  • Disposable Plastic Containers for dyeing buttons
  • Spoon for mixing dyes
  • Rubber Gloves
  • Plastic Table Cover
  • Paper Towels

 Instructions
  1. Cover work surface with a plastic table cover.
  2. Decide what colors you like and prepare dye according to the basic recipe below. Liquid dyes are more concentrated than powder dyes so use half as much dye. Always test color with fabric scrap or paper towel before dyeing buttons. If color is too light, add more dye; if it is too dark, add more water.
  3. Basic Recipe: Measure and mix 1 teaspoon liquid dye or 2 teaspoons powder dye with 1 Cup HOT Water. Shake liquid dyes before measuring. Water should be about 140°F. If your tap water is not hot enough, heat some in the microwave or a tea kettle.
  4. Pour dye and water into a plastic container; stir. Make sure container is deep enough.
  5. Immerse buttons in dye solution for 2 to 5 minutes. Stir occasionally and check color frequently. Remove buttons when desired color is achieved. Rinse buttons. Then wash with soap and water, rinse and dry with paper towels.

Saturday, June 23, 2012

Smooth

So, I'm sitting here, about to write a new post for this blog. There was something in particular I was to write about. Then I thought I'd check the blogs I follow, as I haven't done that for ages. Came up with some great inspirations for craft projects too, which is a bonus.

Before I started pounding the keyboard, I went to the kitchen for a snack of some sort. Having had a craving lately for smoothies, I threw one together.

 
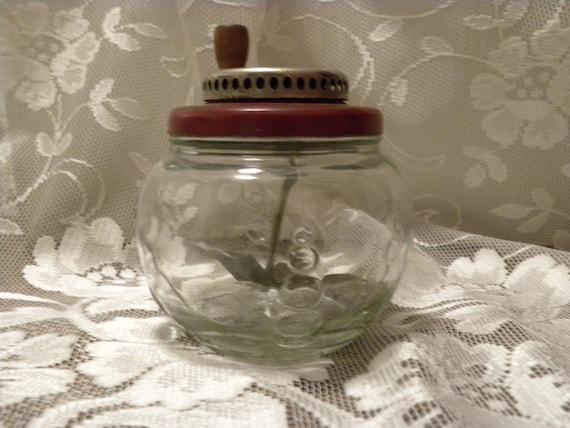
Antique Glass Spin Blender, from MidwestfarmFinds
 
Wikipedia defines a smoothie as, "a blended and sometimes sweetened beverage made from fresh fruit and in special cases can contain chocolate or peanut butter (YUM!! -- my reaction). In addition to fruit, many smoothies include crushed ice, frozen fruit, honey, or contain syrup and ice ingredients."

As I was cleaning up, It occurred to me that I could write about it.  After all, more mundane things have been written about, right? The only trouble was that I had not taken any photos while I was engaged in the task. I have to admit it takes getting used to to always document any (semi)interesting thing I do, so I can post it to this blog. It makes the activity take so much longer. So I am using other people's photos, until the final product--I remembered to snap a pic of that before guzzling sipping...

I didn't use a recipe, just threw everything in and tasted it until it met my exacting standards (!)

First in was plain yogurt...

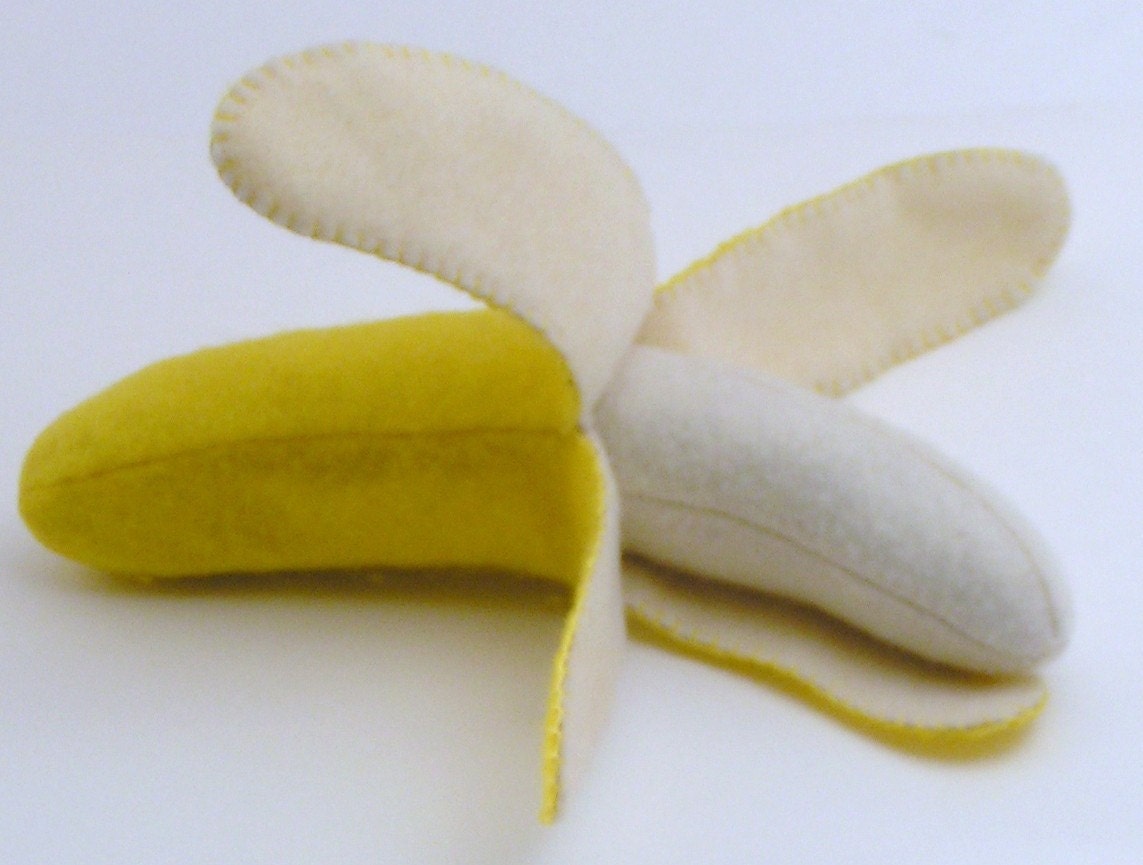
...then a whole banana.
 
Felt Food Banana with Removable Peel, from ThePixiePalace

Next was some frozen berry mixture. I think the partial package has been in the freezer since last summer, so it was time it was used.Using frozen fruit makes the drink cold, without diluting it with ice cubes.

Strawberries and  blueberries
A drip of orange juice

 
Vintage Beach Advertisement, from FrenchFrouFrou

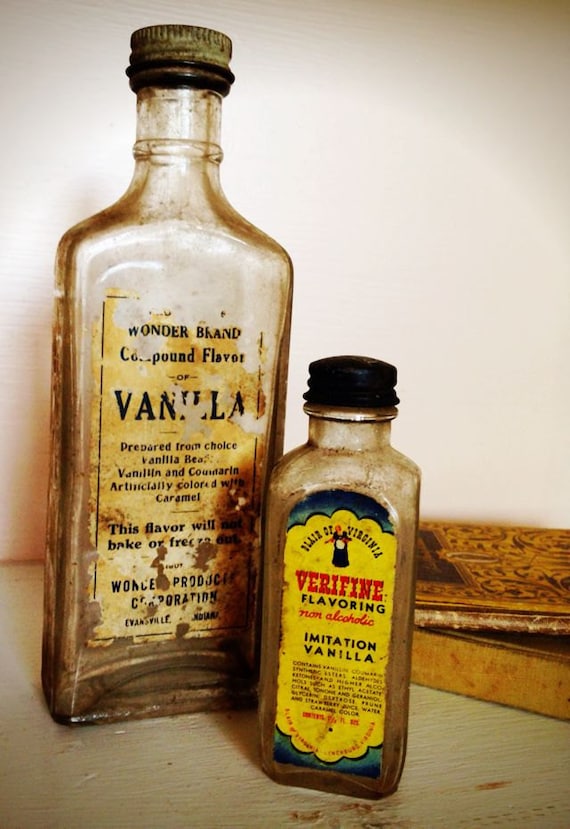
and a few drops of vanilla
 Vintage Vanilla Bottles, from OurVintageKitchen

Turn on the blender, make a few taste adjustments and voila, here it is!


Perfect refreshment for a hot summer day (sorry, Nadya, I know winter is beginning in Australia), not to mention less calories than a milkshake and health benefits of all sorts.


Tuesday, June 19, 2012

Wordless Wednesday...Boy Scout Antique

Go confidently in the direction of your dreams. 
                       Live the life you have imagined.
                                                                                          Henry David Thoreau 

Sunday, June 17, 2012

Rain Day Cheer

It is a rainy thundery day, dreary yet cozy. I'm finding some unexpected vintage rainy-day items over on Etsy.

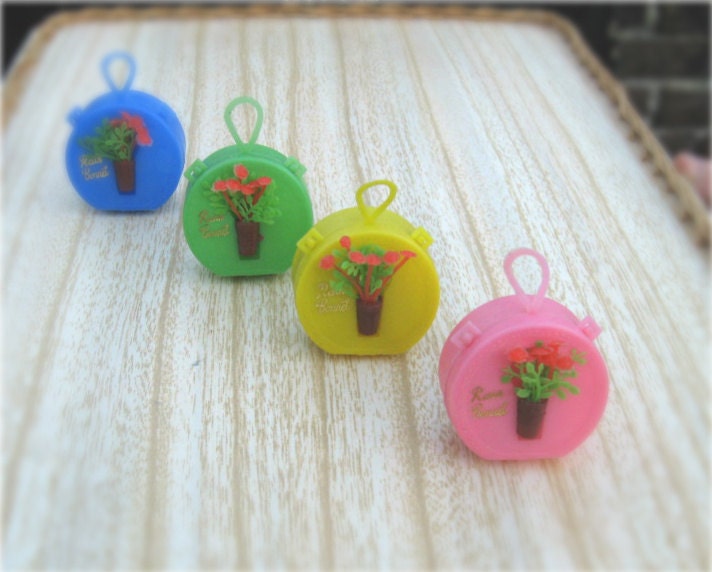
Like these adorable rain bonnet(s) in plastic carry case, from a cheerychicken...


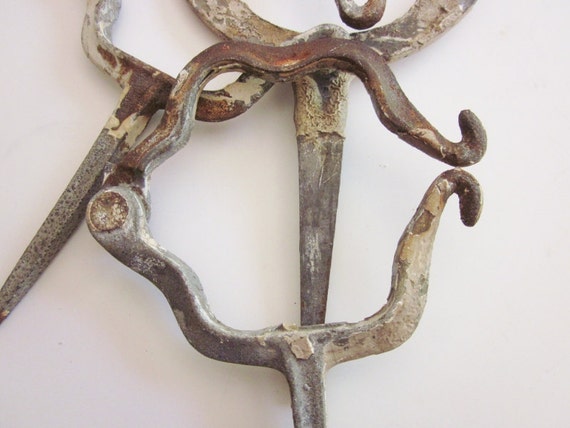
this Rain Gutter Guard, from handitdown...


these Rain Boots, from OleaVintage...


 a Soviet fairy tale illustration,  from missquitecontrary...

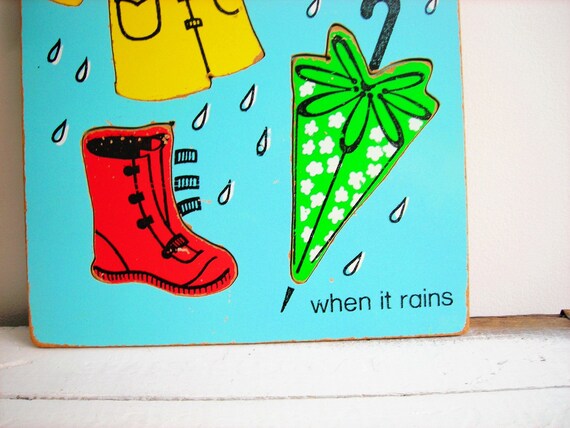
when it rains Playskool puzzle, from Vintage Surplus...

and finally...

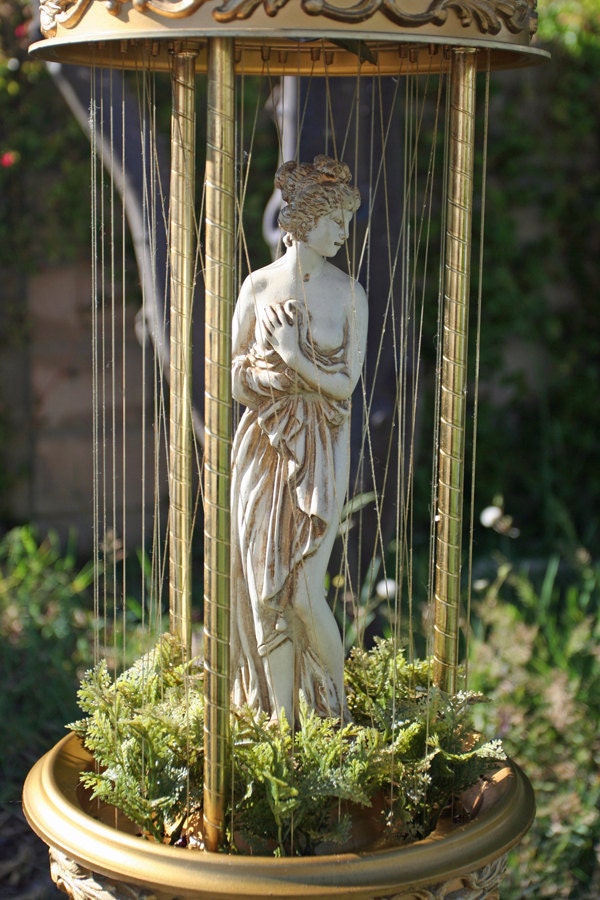
a Grecian rain lamp, from DahlPhaceVintage

Oh my goodness, even though it is gloomy outside, it is definitely sunny here!

Friday, June 15, 2012

New Stuff!

Last weekend was the second-of-the-season summer antique show in the village a few miles from my home. It is only the second year for this and it started out small last year, but has nearly doubled in size. They need more time to grow and I imagine they will because the setting is lovely, right on the Ohio river.

These days I find myself making a beeline for the jewelry, especially the trays of "junk jewelry," with the bits and pieces and broken stuff.

The second vendor I visited had a tray, in which everything was "2 for $5.00," my kind of price! 

The first thing I found was this pair of adorable earrings.

They are not real silver, of course, but so cute! Don't know if I'll resell them in my Etsy shop, or use them as charms in a bracelet or necklace.

Then I came across an old wristwatch, for which I have a bit of a passion.
 I'll definitely take this apart and re-purpose into something. 
Here are a couple of examples: 
 and

Another silvertone item I selected was this Coro bracelet, a fine piece of costume jewelry in great shape.
This will definitely go into my shop!

This cutie caught my attention, as I also have a weakness for charm bracelets, though I rarely wear them.
This is a child's size.
 Look at the charms (one is missing)... a squirrel, a pony, an elephant, a frog, and a goose!

Then it was time to move on the dealer across the sidewalk, 
who had some tray of  odds and ends.
This immediately caught my eye - a Las Vegas themed, yes, charm bracelet on the original card.
Not being a Vegas person, I just loved the kitsch aspect. Unfortunately it isn't quite old enough yet to re-sell, I found out after I purchased it. But it was inexpensive enough to use the charms, if nothing else.


The final piece is this small purse on a chain.
 On the outside is mother of pearl, although I am only showing the good side.
The other outer side is cracked and the inside is torn, but it is so cute--only 2 1/4" wide!

I couldn't find anything else at the show, but I was happy to get these. 
Don't you just love those outdoor markets?

Tuesday, June 12, 2012

Wordless Wednesday... Button Bag

Gift from a friend, who saw it and couldn't resist getting it for me

Friday, June 8, 2012

Hat Trick

Let me emphasize first off that I am not a hat person. They don't work for my face and I have very short hair, so it just plain doesn't do much for me. But, I always wear one when I take a walk and I always take one when I go on vacation because that usually involves a lot of walking too.

I have a very nice "straw" hat (it's 100% cotton) with a brim that I bought last year because the hat I had, though I was very fond of the black and white stripes, looked terrible on me.
Nice enough, but a bit boring. It has a braided leather band. Never occurred to me that I could change it, until last week when an "AHA!"moment occurred (can't remember what triggered it). I could take off the cord and replace it with lace and buttons!

So I set to work...
Pulled out the lace bag and dumped it out.
It is all antique passed down from my great grandmother, grandmother, and mother. A lot of it was handmade by the grannies. I've thought about selling it, but I'm selfish, so I don't, which is good or there wouldn't be any for this project!

Picked out this crazy stuff, which was probably the edging from a tablecloth, as it is circular.
Nothing like being stuffed in a bag for years...

Anyway, I ironed it and a couple of smaller pieces...
and set to work.

I keep all of my thread in this lovely sewing box my mother made for me when I was a teenager learning to use a sewing machine.

Got the lace band on and made some "flowers" (I use that term loosely). I used to make fondant flowers when I worked with pastries for many years, but these lace ones were not to my liking.
Besides, as I  held them onto the hat and looked in the mirror, I realized I am not a flowery hat kind of gal.

So, of course the next thing that came to mind were...BUTTONS!!

Combed through my stash and decided to use the mother of pearl 
ones because I have so many (those of you who love buttons will understand).

Choose a large one to cover the gap in the lace where the flowers were going to go, but not enough of the fraying edges were covered, so I added some smaller ones.

Then I sewed more of the small ones around the band.

Ta-dah!!

Not sure I could make a career of it, but it works for me.